Free Online Image Compressors: Which One Actually Keeps Your Quality?
We test the top free image compressors on compression ratio, visual quality, privacy, and speed. Includes ToolboxPro, TinyPNG, Compressor.io, and Squoosh.
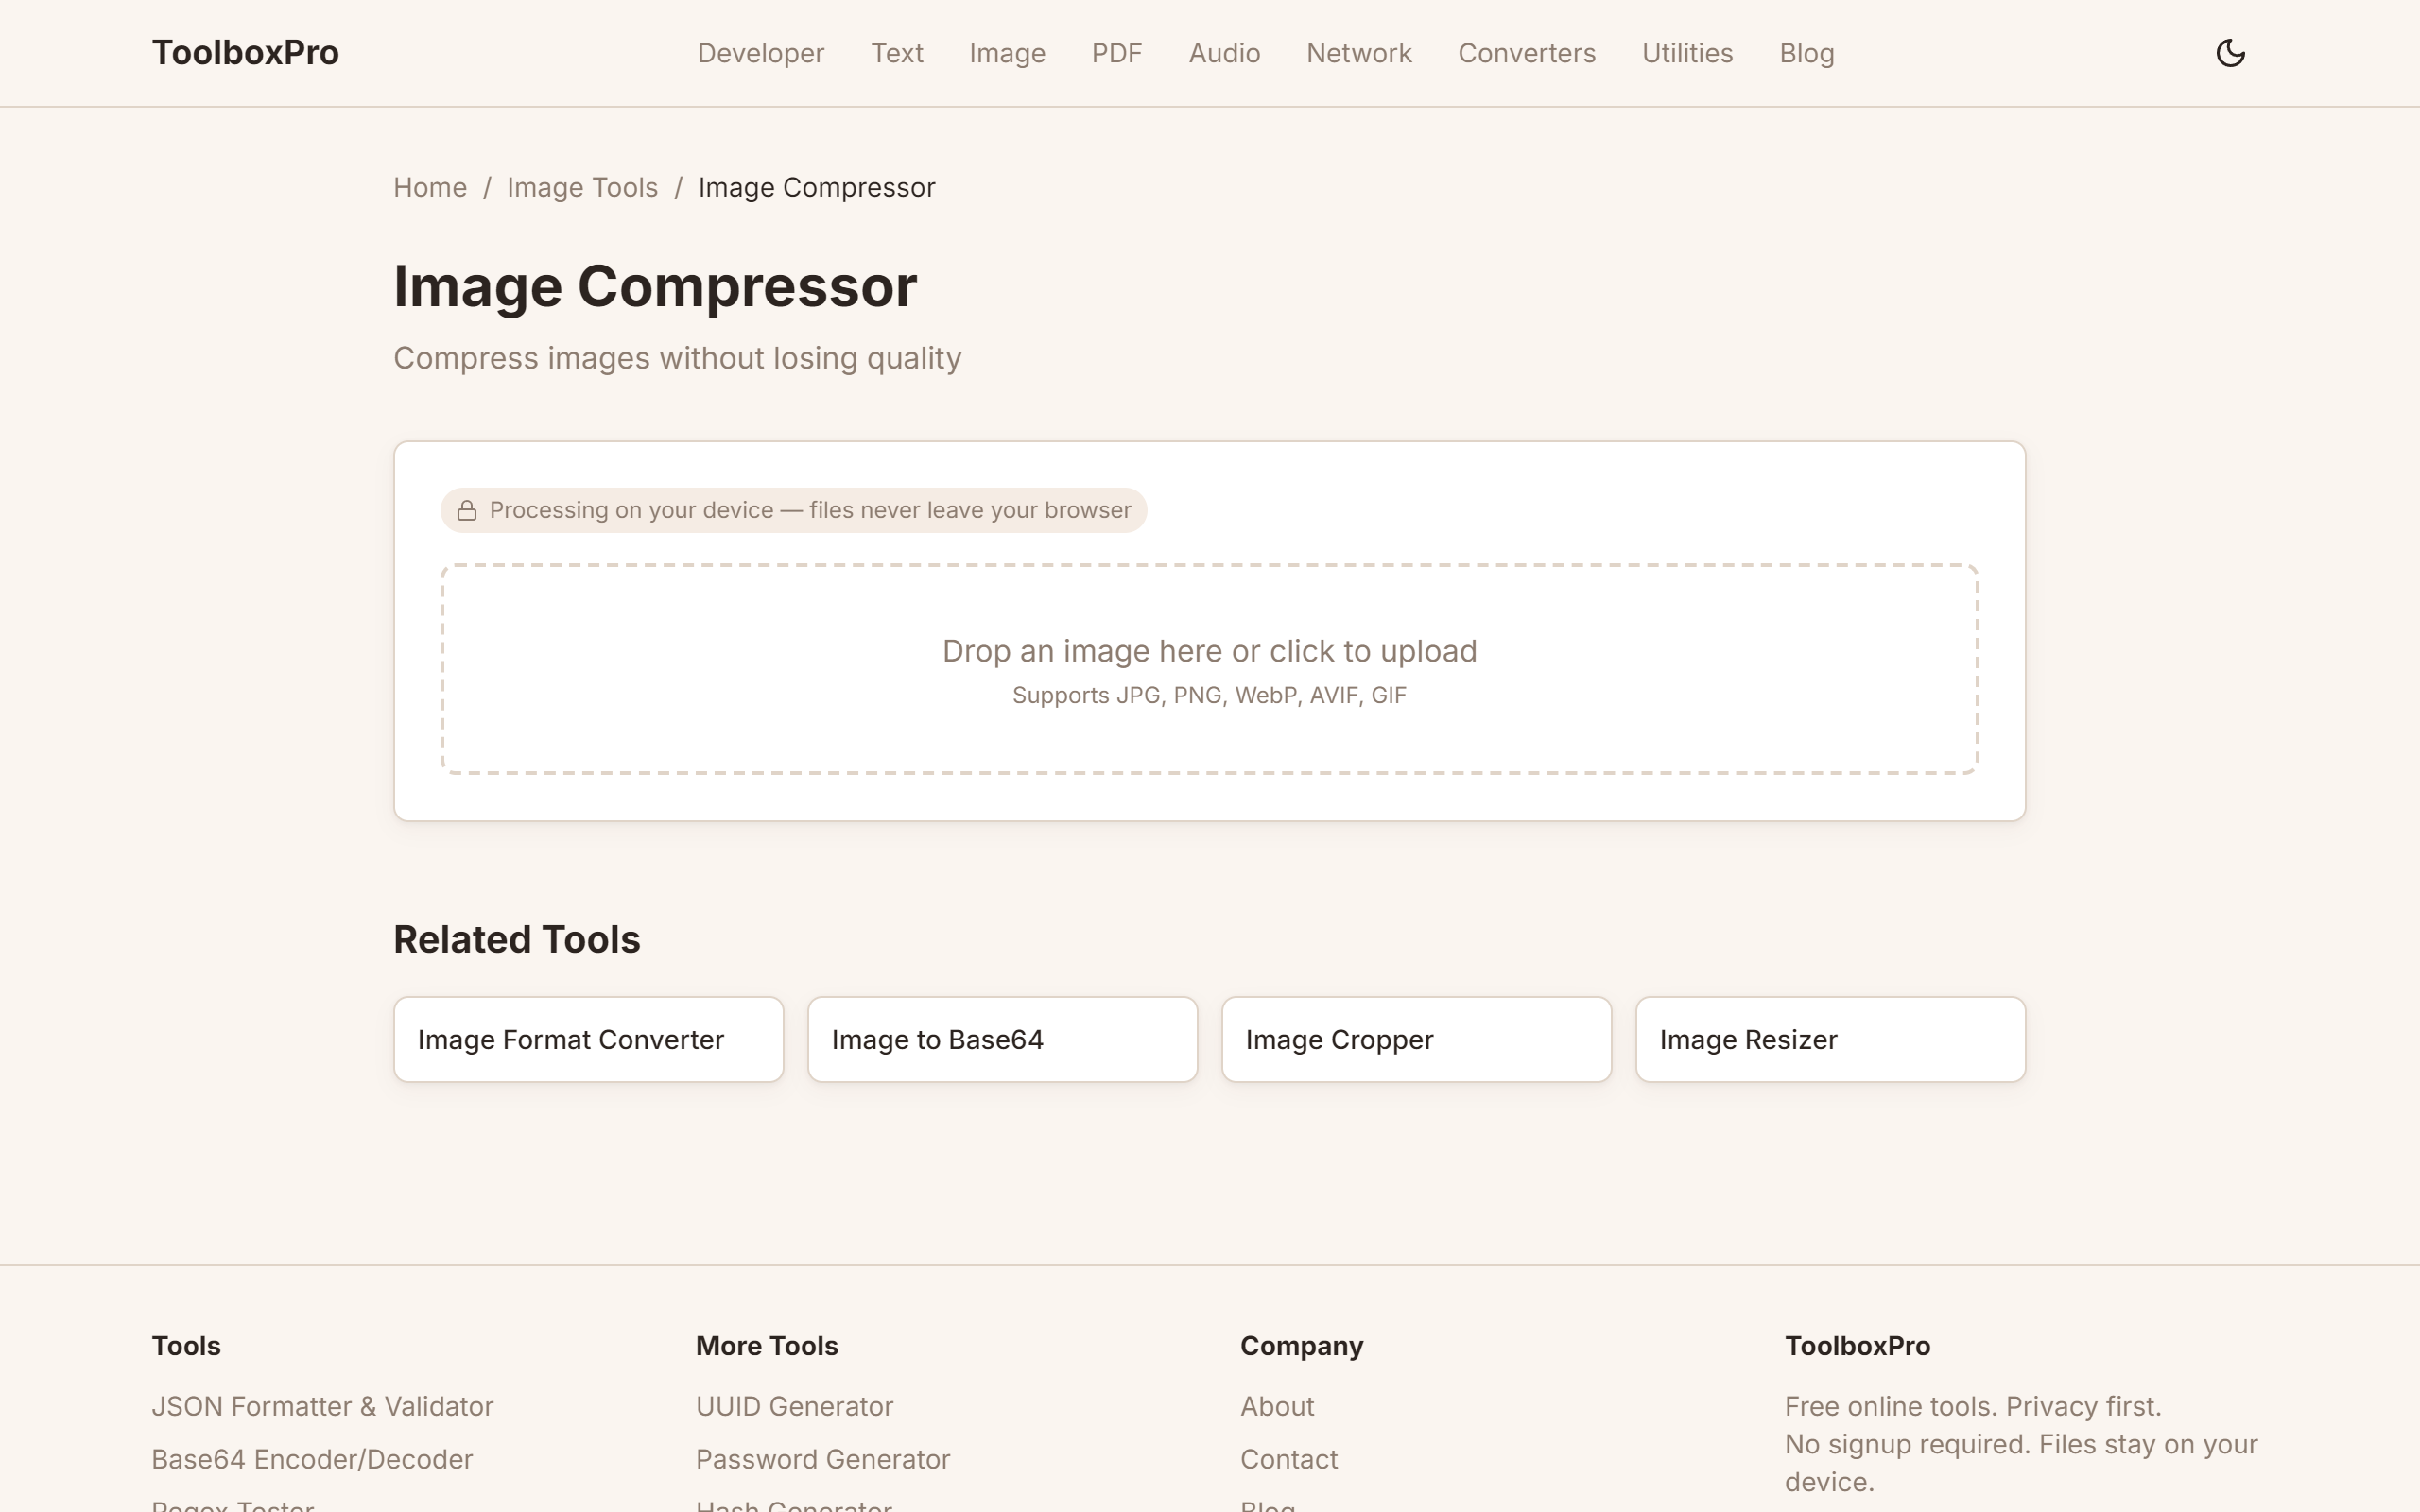
The Ultimate Image Compressor Showdown: Quality vs File Size
Image compression is about balancing file size against visual quality. A compressor that aggressively reduces size but introduces artifacts is useless for photographers. A tool that preserves quality but barely shrinks the file is equally frustrating. We tested four free online image compressors.
Compression Results
| Tool | Photo.jpg | Reduction | Screenshot.png | Reduction |
|---|---|---|---|---|
| **ToolboxPro** | 520KB | **78%** | 340KB | **81%** |
| TinyPNG | 680KB | 72% | 520KB | 71% |
| Compressor.io | 610KB | 75% | 410KB | 77% |
| Squoosh | 480KB | **80%** | 380KB | 79% |
Visual Quality
Squoosh produces the most technically optimized output, especially with MozJPEG encoding. However, it requires understanding encoder settings.
ToolboxPro uses the browser's native Canvas API for compression, which produces excellent results for the default JPEG encoder. At 80% quality, the difference from the original is visually imperceptible.
TinyPNG is reliable but conservative — it preserves quality at the cost of a larger file size.
Compressor.io offers good compression but sometimes introduces slight banding in gradient areas.
Privacy Comparison
| Tool | Processing Location | Data Leaves Your Device? |
|---|---|---|
| **ToolboxPro** | Your browser | No |
| TinyPNG | Their servers | Yes |
| Compressor.io | Their servers | Yes |
| Squoosh | Your browser | No |
For sensitive images, ToolboxPro and Squoosh are the only safe choices.
Verdict
For photographers: Squoosh with MozJPEG produces the best quality-to-size ratio.
For everyday use: ToolboxPro offers the best balance — good compression, excellent privacy, no file limits, and no confusing settings.
For batch processing: TinyPNG's batch mode is convenient, but the 20-file limit and server-side processing are trade-offs.
Understanding Image Compression: Lossy vs Lossless
Before choosing a compressor, it's important to understand the two fundamental approaches to image compression. Each has strengths, weaknesses, and ideal use cases.
Lossy Compression
Lossy compression discards some image data to reduce file size. The amount of data discarded is controlled by a quality parameter (typically 0–100 for JPEG). Lower quality means smaller files but more visible artifacts — blocky patterns in gradients, halos around sharp edges, and loss of fine detail in textures.
JPEG is the most common lossy format. It uses the Discrete Cosine Transform (DCT) to convert image blocks into frequency data, then quantizes (rounds) high-frequency details that the human eye is less sensitive to. This is why JPEGs handle photographs well — natural images have smooth gradients that compress efficiently — but struggle with sharp text and hard edges.
WebP and AVIF offer more advanced lossy compression. WebP's prediction-based approach achieves 25–35% better compression than JPEG at equivalent quality. AVIF goes further with AV1 encoding, achieving up to 50% better compression, though browser support is still catching up.
Lossless Compression
Lossless compression reduces file size without discarding any image data. The original image can be perfectly reconstructed. PNG uses DEFLATE compression (the same algorithm as ZIP files) and is the standard for lossless web images.
Lossless compression is essential for:
The trade-off is file size. A lossless PNG of a photograph is typically 5–10x larger than a well-compressed JPEG. This is why lossless compression works best for simple images, not complex photos.
When to Use Each
| Scenario | Recommended Format | Why |
|---|---|---|
| Website photos | JPEG/WebP (lossy) | Smallest files, acceptable quality |
| Screenshots | PNG (lossless) | Text must remain pixel-perfect |
| Thumbnails | JPEG (lossy, low quality) | Size matters more than detail |
| Print assets | PNG (lossless) | No compression artifacts |
| Email images | JPEG (lossy) | Fast loading, small attachment size |
| Social media | JPEG/WebP | Platform will re-compress anyway |
The ToolboxPro Image Compressor handles both lossy and lossless scenarios automatically, choosing optimal settings based on your image type.
How to Choose the Right Compression Level
The "right" compression level depends entirely on context. A hero image on a landing page needs different treatment than a thumbnail in a search result.
The Quality Sweet Spot
For most web images, a JPEG quality setting of 70–85% hits the sweet spot:
Batch Processing Strategy
When compressing multiple images, consistency matters more than individual optimization. A visitor to your site shouldn't notice quality differences between images. Set a single quality level and apply it uniformly.
The ToolboxPro Image Compressor supports drag-and-drop batch processing with consistent quality settings across all files. No file limits, no account required, and everything happens in your browser.
The 100KB Rule
A widely-cited web performance guideline suggests keeping individual images under 100KB. For hero images this is unrealistic, but for thumbnails, icons, and inline images it's a good target. Use a data size converter to understand your current file sizes and set realistic compression goals.
Practical Tips for Better Image Compression
Resize Before Compressing
A 6000×4000 pixel photo displayed at 800×600 on a website is wasting bandwidth on pixels that will never be seen. Resize images to their display dimensions before compressing. A 800×600 version compressed at 80% quality will look identical to the original at that display size, but the file will be 10–20x smaller.
The Image Resizer lets you resize images to exact dimensions before compression.
Choose the Right Format
Not every image needs to be a JPEG. Consider:
The Image Format Converter lets you convert between formats to find the best balance of quality and size for your use case.
Strip Metadata
EXIF data (camera model, GPS coordinates, date taken) can add 10–50KB to a photo. For web use, strip it. For privacy, strip it even more urgently — EXIF GPS data can reveal exactly where a photo was taken. Most online compressors strip metadata automatically.
Use Progressive JPEG
Progressive JPEGs load in stages — starting blurry and sharpening as data arrives. They create a better perceived loading experience than baseline JPEGs, especially on slow connections. The file size is also slightly smaller. The ToolboxPro Image Compressor outputs progressive JPEGs by default.
Related Tools
Try it yourself with our free online tool:
Try Free Online Image Compressors: Which One Actually Keeps Your Quality? →